Clean Install Windows
Revision as of 10:21, 31 July 2013 by Trinity Dejavu (talk | contribs) (Created page with "{{Clean Install Header}} These instructions require the use of windows explorer. This can be started by pressing the '''Windows Key + E'''. =Remove settings= =Manually Cl...")
A clean install is a manual procedure that removes the viewer, all cache, configuration files and replaces it with a completely fresh install. If you are doing this as part of a viewer update, then we recommend you follow ALL of the steps in order.
If you are not installing a newer version of Catznip then you should read our Troubleshooting Guide first.
Do NOT attempt to follow these instructions while the viewer is running
These instructions require the use of windows explorer. This can be started by pressing the Windows Key + E.
Remove settings
Manually Clear the Cache
If you have opted to place the cache in a custom location, navigate to that location and remove ALL files. If not ...
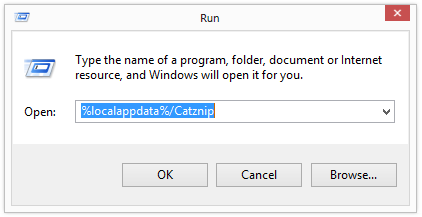
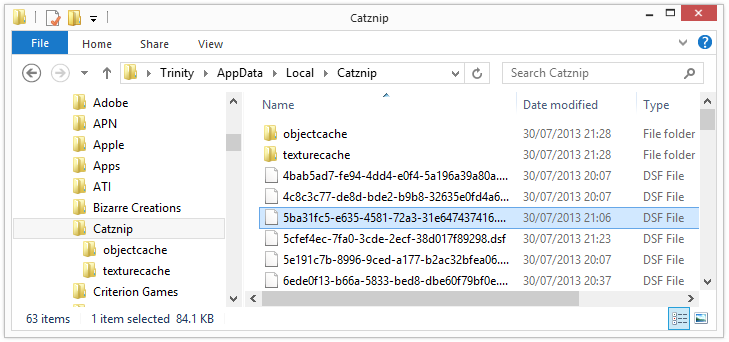
- Press the Windows Key + R and enter %localappdata%/Catznip
- In the folder that opens up, right pane, select any file, press CTRL + A to select all and then SHIFT + DELETE. This will remove all of the cache files. It may take several minutes.
Remove and Reinstall
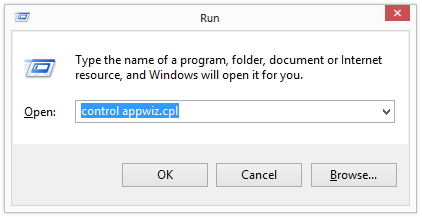
- Press Windows Key + R and enter control appwiz.cpl (This works on all versions of Windows).
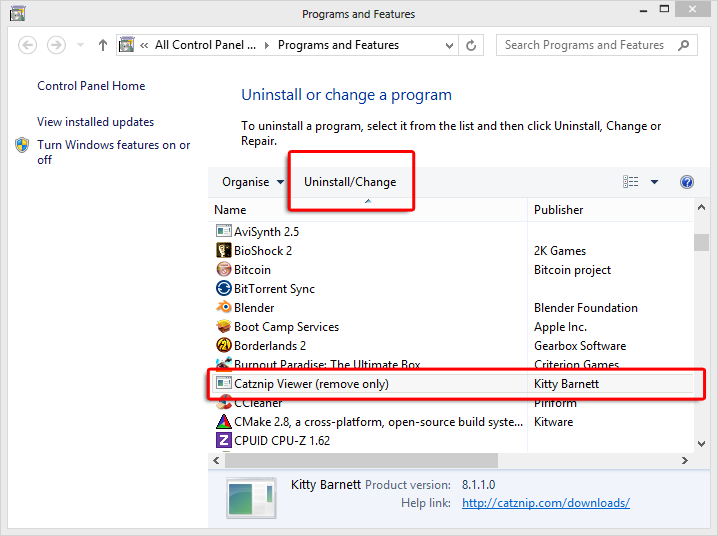
- This will open Add/Remove Programs. Select Catznip from the list and uninstall as normal.
- Download the Latest Release and install as normal.


