Clean Install Windows
Jump to navigation
Jump to search
A clean install is a manual procedure that removes the viewer, all cache, configuration files and replaces it with a completely fresh install. If you are doing this as part of a viewer update, then we recommend you follow ALL of the steps in order.
If you are not installing a newer version of Catznip then you should read our Troubleshooting Guide first.
Do NOT attempt to follow these instructions while the viewer is running
Note : Any icons show in Windows Explorer may not match those on your computer. Images are for guidance only, please read the instructions carefully.
Contents
Remove settings
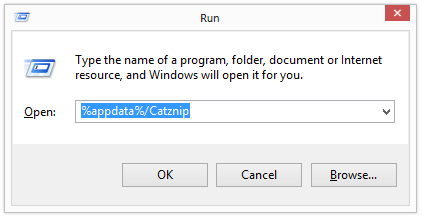
- Windows Vista, 7, 8 and 10 : Press the Windows Key + R and enter %appdata%/Catznip
Yes, it's ok to delete my chat logs..
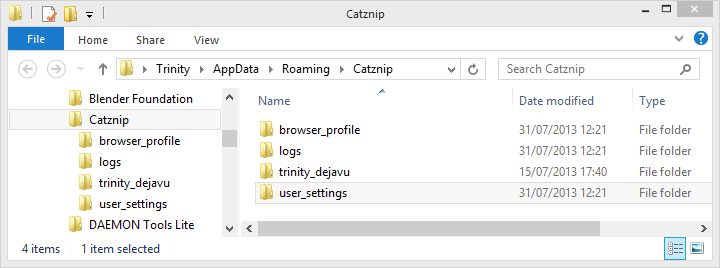
- If you wish to delete all chat logs as well as removing the settings, delete ALL folders in the right pane.
No! Don't delete my chat logs..
- If you do not wish to delete all chat logs, in the right pane, delete the user_settings, logs and browser_profile folders.
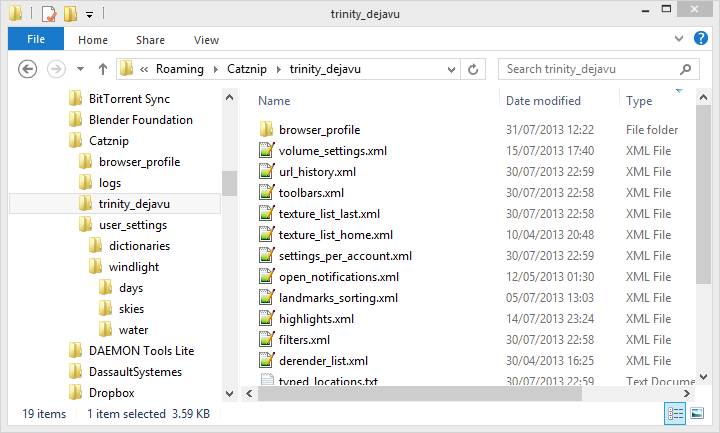
- Enter each of the user named folders one by one (trinity_dejavu in the following screenshot) and delete ONLY the browser_profile folder and all XML files. It may help to sort the folder view by type.
Manually Clear the Cache
If you have opted to place the cache in a custom location, navigate to that location and remove ALL files. If not ...
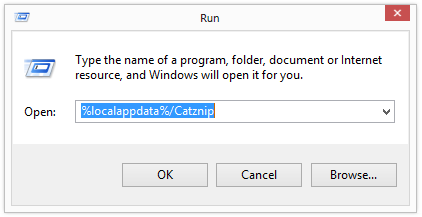
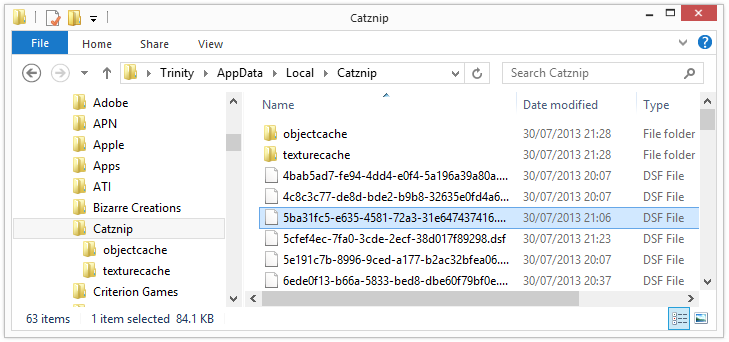
- Windows Vista, 7, 8 and 10 : Press the Windows Key + R and enter %localappdata%/Catznip
- In the folder that opens up, right pane, select any file, press CTRL + A to select all and then SHIFT + DELETE. This will remove all of the cache files. It may take several minutes.
Remove and Reinstall
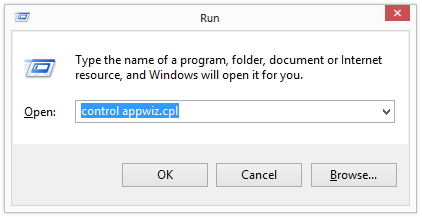
- Press Windows Key + R and enter control appwiz.cpl (This works on all versions of Windows).
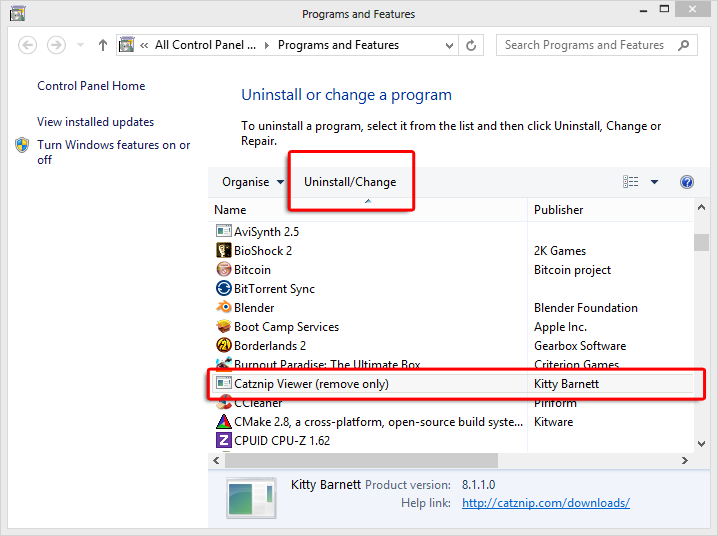
- This will open Add/Remove Programs. Select Catznip from the list and uninstall as normal.
- Download the Latest Release and install as normal.
